
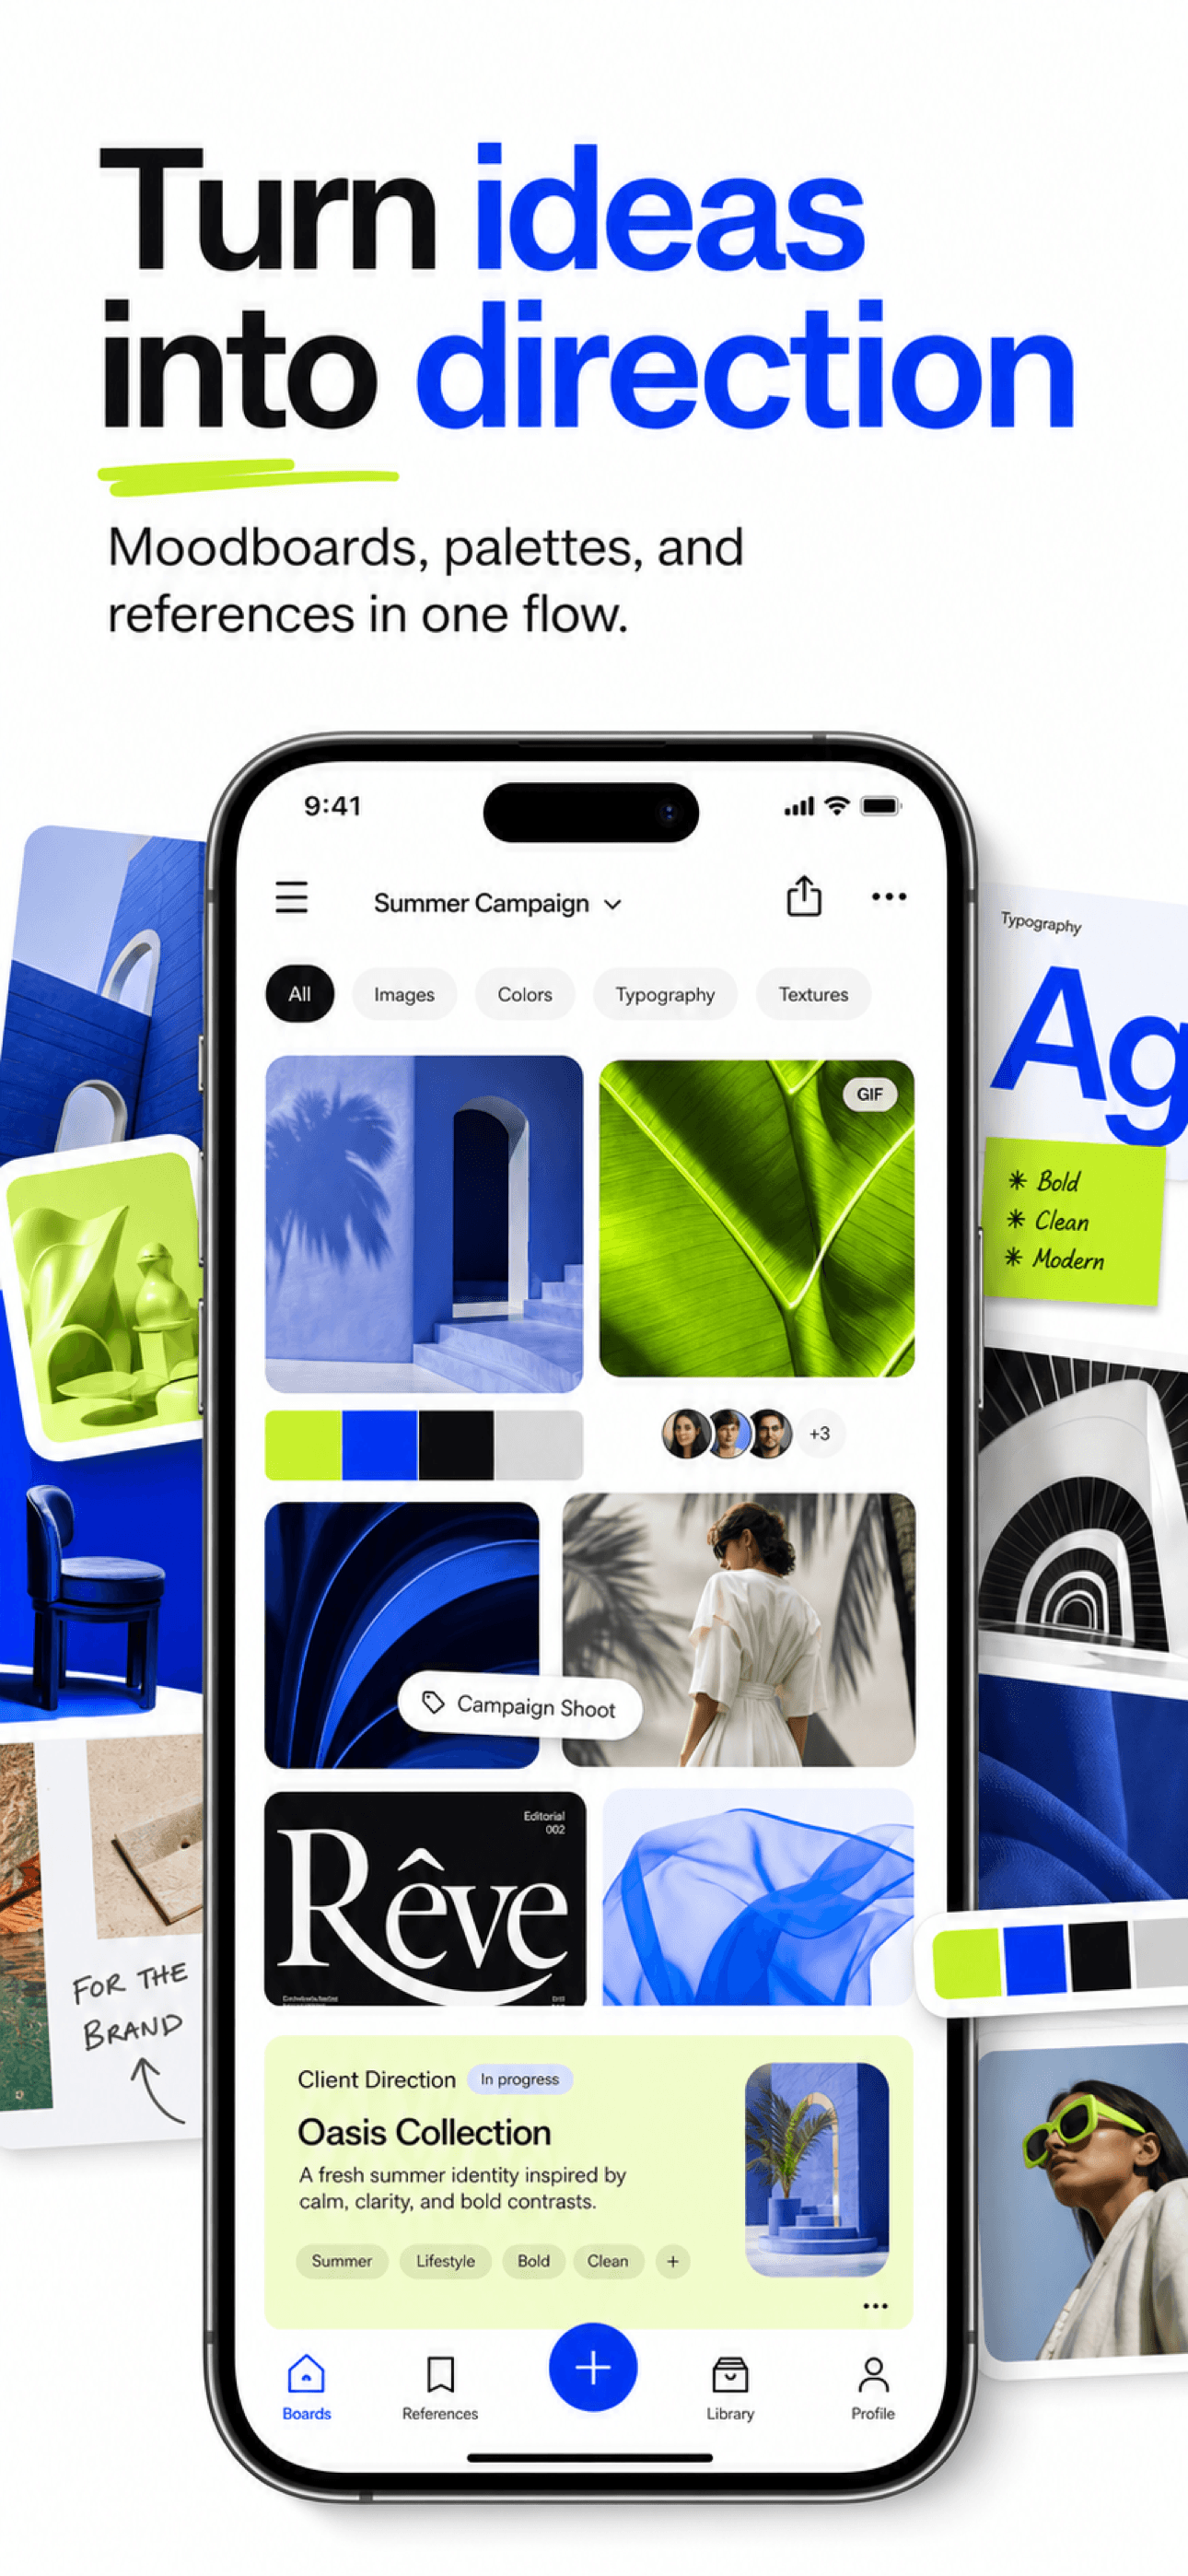
Bring your app description and captures to StoreScreens.ai once your screenshot sequence is clear. If you also publish on iOS, follow the App Store creation guide for that part of the release.
What a Play Store screenshot set needs
To publish, a Play Store listing needs at least two screenshots, and you can upload up to eight per device type. Screenshots must be JPEG or 24-bit PNG, with each side between 320 and 3840 px and an aspect ratio no more extreme than 2:1. For eligibility on more Play surfaces, Google recommends at least four phone screenshots with the short side at 1080 px or more. The workflow below gets you from raw captures to that finished set.
Step 1: Capture clean Android source screens
Start inside your real app on an Android device or emulator. Fill it with realistic content without personal information, current UI states, and the light or dark theme you want to present. Avoid iOS captures: Google's guidance is to show the actual experience users get after install, and reviewers and users both notice iPhone status bars inside Android artwork.
Step 2: Plan the sequence before designing
Decide what each screenshot should prove before touching visuals. A reliable order: the core outcome first, your strongest differentiator second, the main daily workflow third, then supporting features. Treat the first four as a complete introduction, since those carry recommendation formats across the Play Store.
Step 3: Write headlines people can read at thumbnail size
On a Play search results page your screenshot may render smaller than a postage stamp. Keep headlines to a few words, lead with the benefit, and check contrast against the background. If a line only makes sense after reading the app description, rewrite it.
- Real Android UI with realistic content without personal information
- Message planned per screenshot, outcome first
- Headlines under about six words
- Readable at search-result thumbnail size
- Phone set first, then tablet layouts
- Every claim matches the shipped app
Step 4: Design frames for phone and tablet
Compose each frame with the app UI central and the headline supporting it, not covering it. Build the phone set at 1080×1920 px, then create separate tablet layouts rather than stretching phone captures — Google asks for screenshots that reflect the real large-screen experience. Full dimension rules are in the Play Store screenshot sizes guide.
Step 5: Localize, export, and upload
When screenshots contain text, Google recommends a separate set per language. Translate headlines, adapt visible sample data, and re-check line lengths, since many languages run longer than English. Then upload in the Play Console under Store presence, Main store listing, per device type and per language. There is no separate approval step for screenshots alone, but assets must comply with Play policies, so keep every visual truthful.
Faster: generate the set instead of assembling it
The manual route works, but every layout, headline, translation, and export is your job. The Play Store screenshot generator plans the sequence, writes the captions, designs every screen in a coherent style, and exports phone and tablet sets in 40 languages from one brief — start a 3-day free trial.